I wanted the app to feel native to macOS, so I chose  Swift for development. This allowed for the implementation of physics-based animations, trackpad gestures, and haptic feedback.
The Pipeline
The interface reflects the pipeline concept: a toolbar containing all available adjustments. The file format sits at the start, as it dictates the available steps (e.g., JPEG vs. PNG options). This is followed by resizing, compression (quality), flipping, background removal, and metadata stripping.
Size Controls
Resizing presented a few challenges. Users needed to scale by height, width, or, based on feedback, the shorter side. I also needed to include cropping and size templates. The challenge was fitting these options into a compact, easy-to-understand control. Since cropping and scaling along a specific side are rarely done simultaneously, I used a switch to toggle between these two modes.
Resize Width, Height or on shorter side. Switch between cropping and scaling.
Sliders
I implemented sliders to let users quickly snap to common values. For image size, this includes powers of two up to 4K (16, 32... 3840) and standard resolutions like 1080p. Quality adjusts in increments of five. For precise control, clicking the slider converts it into a text input field.
File Management
To support different workflows, files can be loaded via the Finder, drag-and-drop (to the icon or window), or copy-paste. Once loaded, files are immediately transformed based on the current pipeline settings, showing the estimated export size in pixels and kilobytes. Users can remove individual images or copy the processed versions directly to the clipboard.
Comparison
A direct comparison view was a priority for me and the users. It helps estimate how much an image can be compressed without visible quality loss. I built a UI where a slider overlays the new version on top of the original. Both images zoom synchronously for close inspection, and a double-click resets the view to 100%. Parameters can be adjusted while viewing the comparison for immediate feedback.
Details
A few smaller details improved the user experience. I added keyboard shortcuts for changing formats, opening the comparison view, deleting, and saving. Users also requested templates, allowing them to save and reuse specific pipelines.
The save button also acts as a status indicator. It shows progress during import and export. After exporting, the app automatically reveals the saved images in the folder. If no specific destination is selected, it defaults to the source folder.
App Icon
For the app icon, I used Apple's new Icon Composer in  Xcode, which allows layered, dynamic icons that adapt to light and dark mode. I prepared the individual layers in
  Figma, then imported them into Icon Composer. The tool limits you to 5 layers which required some fiddling to achieve the depth and hierarchy I had in mind while keeping the icon readable across both appearance modes.
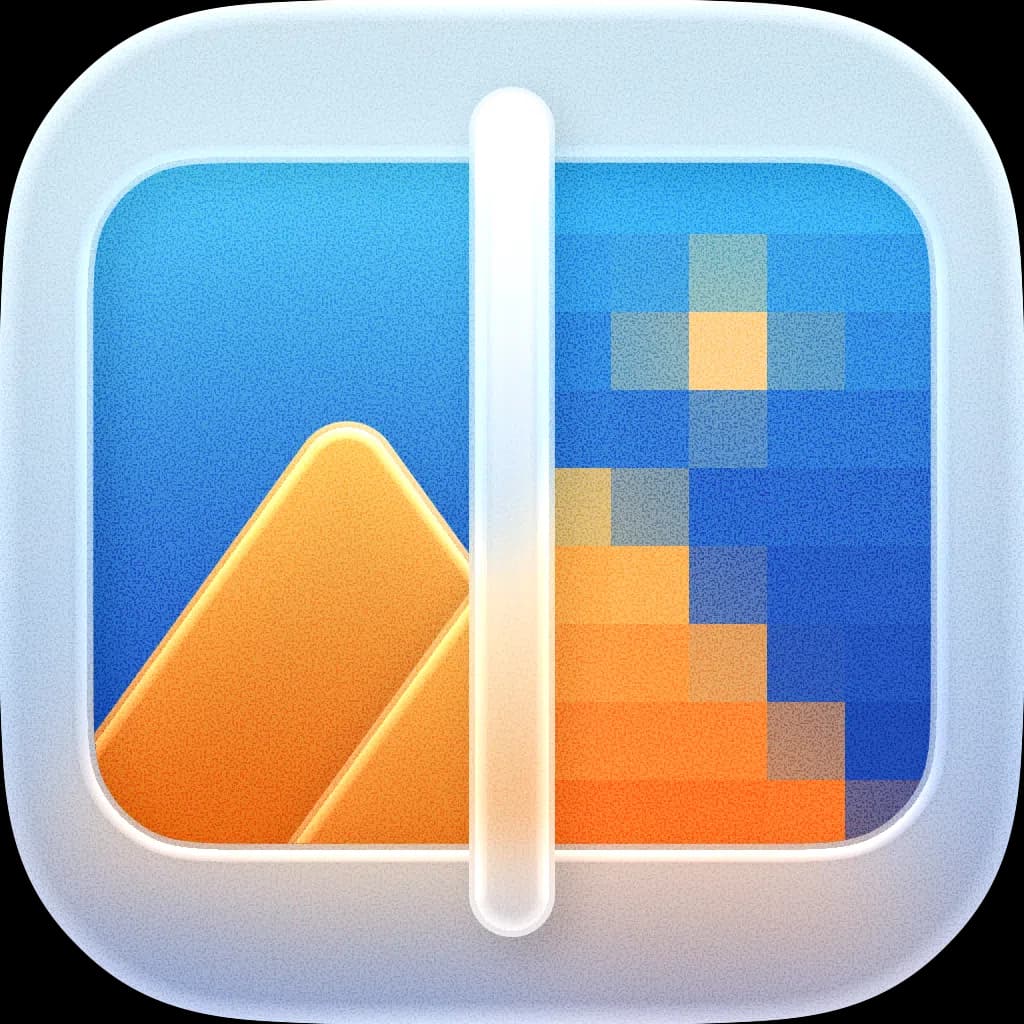
Light mode
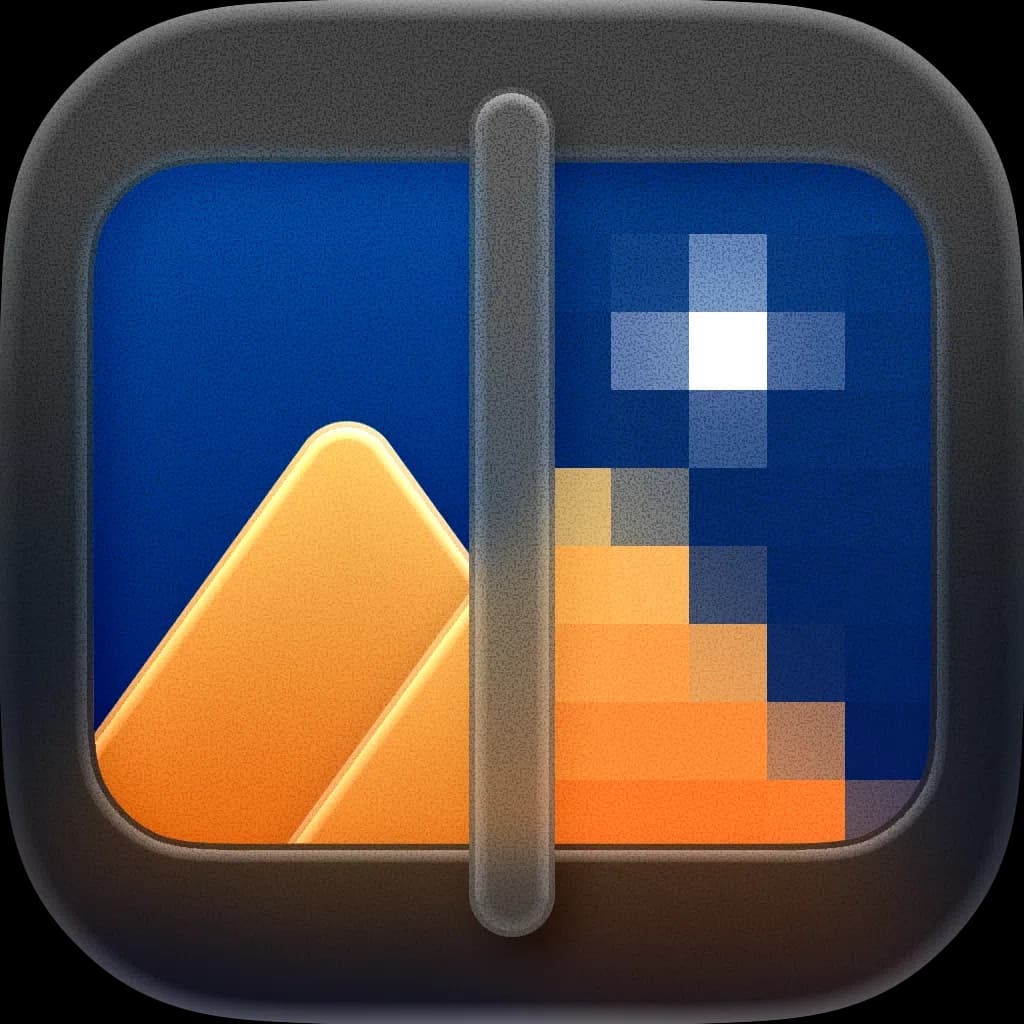
Dark mode


